In this era of digitalization where videos have become the primary form of communication and entertainment on various social media platforms, understanding how to manipulate and enhance video content is crucial. Specifically, with YouTube being one of the most popular platforms for sharing and viewing content globally, it’s essential to become proficient in managing the YouTube app interface on Android devices. Subsequent to mastering this, another important aspect is understanding the basics of video editing, particularly the ability to rotate videos for an effective visual presentation. It is worth noting that the YouTube app itself does not permit direct video rotation, hence the need to leverage third-party apps for this purpose. This write-up will guide you through these seemingly complex processes making them navigable and less daunting.
Understanding YouTube App Interface
Quick Guide: Navigating the YouTube App on Your Android Device
If you’re already using YouTube on your Android device, you probably appreciate the interesting mix of content it offers – from tutorials to technology reviews, trending music videos to droll snippets of everyday life. But are you tapping into the potential of YouTube’s Android app to its full extent? Here is a comprehensive guide to navigate YouTube’s Android app
like a pro.
1. Launching the App
To access YouTube, simply select the YouTube icon from your Android’s app drawer. If you can’t find the application, you can download it for free from the Google Play Store.
2. Signing In
Once the app is launched, sign in to your Google account. This step allows for a personalized experience that offers recommended videos based on your viewing history and subscriptions.
3. Home Tab
On launching the app, you land on the home screen which displays a vast array of videos tailored to your preferences. Scroll down and you will see a variety of sections like “Recommended” or “Trending.”
4. Navigation Bar
The navigation bar at the bottom consists of five tabs: Home, Explore, Subscriptions, Library, and Notifications (once you sign in). Explore takes you discover trending videos and topics; Subscriptions displays recent uploads from channels you subscribe to; Library is where you’ll find your viewing history, your uploads, purchases, and playlists; and finally, Notifications provide updates about your interactions.
5. Search Options
To find a specific video or channel, use the magnifying glass icon on the upper right side. Enter the video or channel name, and hit the search icon. Make use of filters to narrow down your search.
6. Video Playback
On selecting a video, it plays automatically. The screen has several controls: play/pause, rewind, skip ahead, and a slider to navigate through the video. Tilt your phone for full-screen mode.
7. Subscribing to Channels
To stay updated with a specific channel’s content, hit the Subscribe button under their channel name. Manage your subscriptions under the Subscriptions tab.
8. Creating Playlists
On a video page, you can add it to a playlist by tapping the Save icon and choosing an existing playlist or creating a new one.
9. Changing Settings
Customize your YouTube experience under the Settings menu, which you can access through your profile icon on the upper right. Here, you can adjust your preferences for General, Privacy, Notifications, and more.
10. YouTube Premium
To banish ads and access additional features like background play and YouTube Music, consider getting YouTube Premium. Discover this option under your Profile > Purchases & memberships.
Understanding the nuts and bolts of the YouTube Android app can significantly enhance your user experience. It’s not just about viewing videos; it’s about organizing, discovering, and engaging with content in a streamlined manner. Tap into the power of YouTube on Android and let it illuminate, entertain, and educate like never before. Don’t just watch videos – master the art of YouTube navigation. It’s a game-changer.
Photo by helloimnik on Unsplash
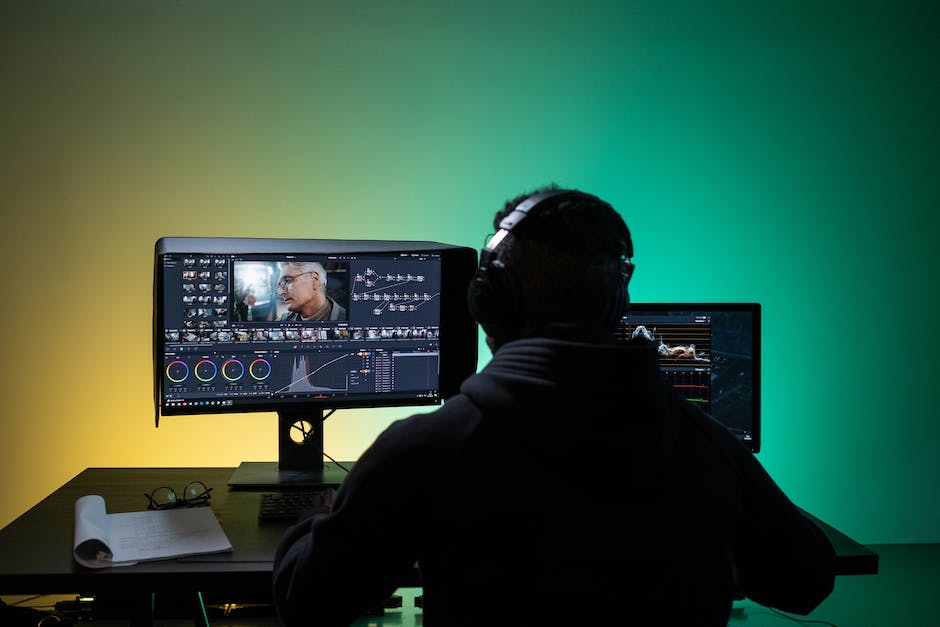
Learning Video Editing Basics
All right, now that you’re familiar with the basics, let’s jump straight into the world of video editing. Video editing, simply put, is the manipulation and arrangement of video shots to create new work. Whether you’re interested in adding a professional touch to your YouTube videos or creating stunning home videos, understanding some fundamental video editing tasks is critical.
For basic video editing, you don’t need to invest in high-priced, professional software suites. Several user-friendly tools such as iMovie for Mac users and Movie Maker for Windows users, or even cross-platform free tools like Lightworks and Shotcut, are commonly used. For this article, we will concentrate on the basic editing commands that are universally similar across most editing software.
- Importing Media Files
- Trimming Your Clips
- Arranging Your Clips
- Adding Transitions
- Adding Text
- Implementing Sound
- Exporting Your Video
The first step in video editing is importing your video files into your chosen editing software. This process typically involves clicking file, then import, and finally selecting the files from your computer.
Every masterpiece starts with raw footage that needs to be trimmed. To do this, you should play back the video, deciding where you want the clip to start and end. Most programs allow you to simply drag the ends of the clip or use a cut or razor tool to trim footage.
Once you’ve trimmed your video clips, the next step is to arrange them in the desired order on your timeline – the area where video editing takes place. This is typically a simple click-and-drag process.
Transitions aid in creating a smooth flow between your clips. Common transitions include fade in and out, crossfade, slide, wipe, and dissolve. To add a transition, you simply drag your chosen transition effect and drop it between your clips.
Inserting text, such as titles and captions into your video, can be achieved by accessing the text or title feature in your software. After typing your text, you can customize its style, size, font, color, and position.
Do you need background music, sound effects, or a voiceover? No problem. Similar to importing video files, you can import audio files and drag them into your timeline. Then adjust the volume or trim them to match your video clips.
Ultimately, you’ll need to save or export your video project in a format that can be viewed by others. This is typically done via the ‘export’ or ‘render’ option within your editing software. Select your desired video format (usually .mp4), resolution, and frame rate, then wait for your masterpiece to render.
Video editing can appear daunting at first, but with a bit of understanding about the basic tasks, it isn’t as complex as it seems. These basic steps should have you making videos like a pro in no time. Now start experimenting with your creativity and make your next video project a piece of tech-art to behold. Embrace the power of audio-visual storytelling, the future of communication is video!
Using Third-Party Apps for Video Rotation
As a tech enthusiast, chances are you’ve encountered an overly rotated video on your Android device—something you took personally as a tech issue that screams for your solution! Even if the default Android tool doesn’t allow video rotation, no need to panic or scratch your head. A few third-party apps with rotation feature come to our rescue:
- InShot:
Append ‘InShot’ to your ‘video rotation toolbox’. Open the app, tap ‘Video’ then ‘New’. Select the video and use the ‘Rotate’ icon in the toolbar at the bottom. Use either the 90-degree icon to rotate your video right or left, and make sure to hit ‘Save’. InShot is user-friendly plus offers other tools for trimming, cutting, or adding music to videos.
- Google Photos:
Did you know your Google Photos also moonlights as a video rotation mechanism? Choose the specific video in your Google Photos, tap on ‘Edit’, then ‘Rotate’ until your video assumes the desired orientation. Tap ‘Save Copy’ to keep your masterpiece.
- VLC for Android:
Yes, our trusty VLC isn’t just for playback; it can rotate videos too. Load the video, navigate to ‘Options’, select ‘Tools’ then ‘Rotate’. Choose from four orientations. ‘Save’ it and you’re done. Note that this may lead to a ‘Duplicate’ in your gallery—a small price to pay for perfectly oriented videos.
- Adobe Premiere Rush:
This app caters to more advanced users. Import your video, tap ‘Orientation’, pick either ‘Rotate Video Left’ or ‘Rotate Video Right’. Once satisfied with the orientation, ‘Create’ to save it.
Now you can have your videos in the right orientation, thanks to the blessing of these third-party apps. No sideways or upside-down viewings; every video will be satisfactorily aligned. After all, technology serves you, not vice versa. Keep leveraging these tools to stay ahead in the tech game.

Through this exploration, you have not only gained insights about dealing with the YouTube app interface but also navigated the rudimentary steps of video editing. The articulation of these two competencies sets the ground for manipulating video content according to personal or audience preferences. Most notably, instructions on how to use various third-party apps to rotate videos have been illustrated, signifying the importance of such apps due to the inability of the YouTube app to directly rotate videos. As digital trends evolve and more video functionalities emerge, it will continually be of significance to stay updated and informed. So moult no feather and keep exploring and enhancing your digital skills.